
Sending a Fax from a Sharp Printer
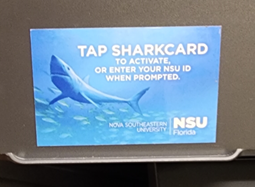
- Approach the sharp printer and scan your Shark ID card in the indicated spot on the
device.
- Select Faxing, Fax, or Send to Fax
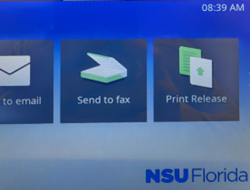
Note: In some cases, the Faxing function is inside of the Scan function and may say "Fax to PaperCut."
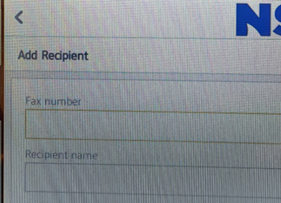
- Add the recipients (destination fax number) either from your phone book by pressing
on the phone book button

- Or use the + to manually add them. Fax number should be in 10-digit format with no
leading 9 for an outside line. (i.e. to send a fax to 954 123 1234 enter the digits
as 9542621234)
- Or use the + to manually add them. Fax number should be in 10-digit format with no
leading 9 for an outside line. (i.e. to send a fax to 954 123 1234 enter the digits
as 9542621234)
- Once the destination fax machine(s) have been added, follow the instructions on screen
to scan the documents that will be faxed

- Once you have scanned all of your pages, press the Finish button to start the transmission.
- You will be able to track the status of your outbound fax in the fax folders on the
RightFax web interface.


Swipe on the right side of the screen. There should be translucent screen where there are three icons. Tap on the Person icon and logout.

SharkLink
SharkLink is NSU's online portal. With a single username and password, students, alumni, faculty, and staff members can easily access many online university applications.
Quick Guide
Students (PDF)Microsoft Online Archive
Faculty and Staff (PDF)
Hours of Operation
Monday-Friday: 7:00 a.m. – 7:00 p.m.
Saturday: 8:30 a.m. - 5:00 p.m.
Sunday: Closed
Closed on University Holidays
Holiday Schedule
Help Number for Students:
(954) 262-4357
Toll Free:
800-541-6682 ext. 24357
Help Number for Staff:
(954) 262-0070