
Wireless Setup for Mac OS 9
Review how to find your MAC address on your Mac OS 9 system and how to setup your NSU wireless access.
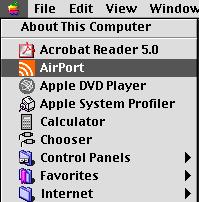
- Click the Apple menu icon and select AirPort.
- If necessary, click the arrow beside Settings so that it points downward and the AirPort settings appear beneath.
- If the Turn AirPort On button appears, click it to turn on your AirPort connection.
- The 12-character alphanumeric combination listed as AirPort ID is the MAC address.
- Click here to register your MAC address.
Alternative Setup
- Click the Apple menu icon and select Apple System Profiler.
- If necessary, click the arrow beside Network overview so that it points downward and the Network settings appear beneath.
- If necessary, click the arrow beside AppleTalk so that it points downward and the AppleTalk settings appear beneath.
- The 12-character alphanumeric combination listed as Hardware Address is the MAC address.
- Go to the Apple Menu and select AirPort.
- Click the arrow beside Settings to get the setting details.
- Under AirPort, make sure it says AirPort: On as shown below. If it does not, select the Turn AirPort On button.

- Under AirPort Network section, click the Choose network menu. Select Create Computer to Computer network... from the menu.
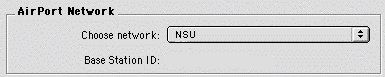
- Type NSU in the Name text field and click OK. Now you can close the AirPort window.
- Next, go to the Apple Menu and under Control Panels, select TCP/IP.
- Select AirPort from the Connect via menu. From the Configure menu, select Using DHCP Server.

- Close the TCP/IP window and click OK to save the changes made.